Assembly notes for the generic system
Scroll down for how to assemble specific modules.
-
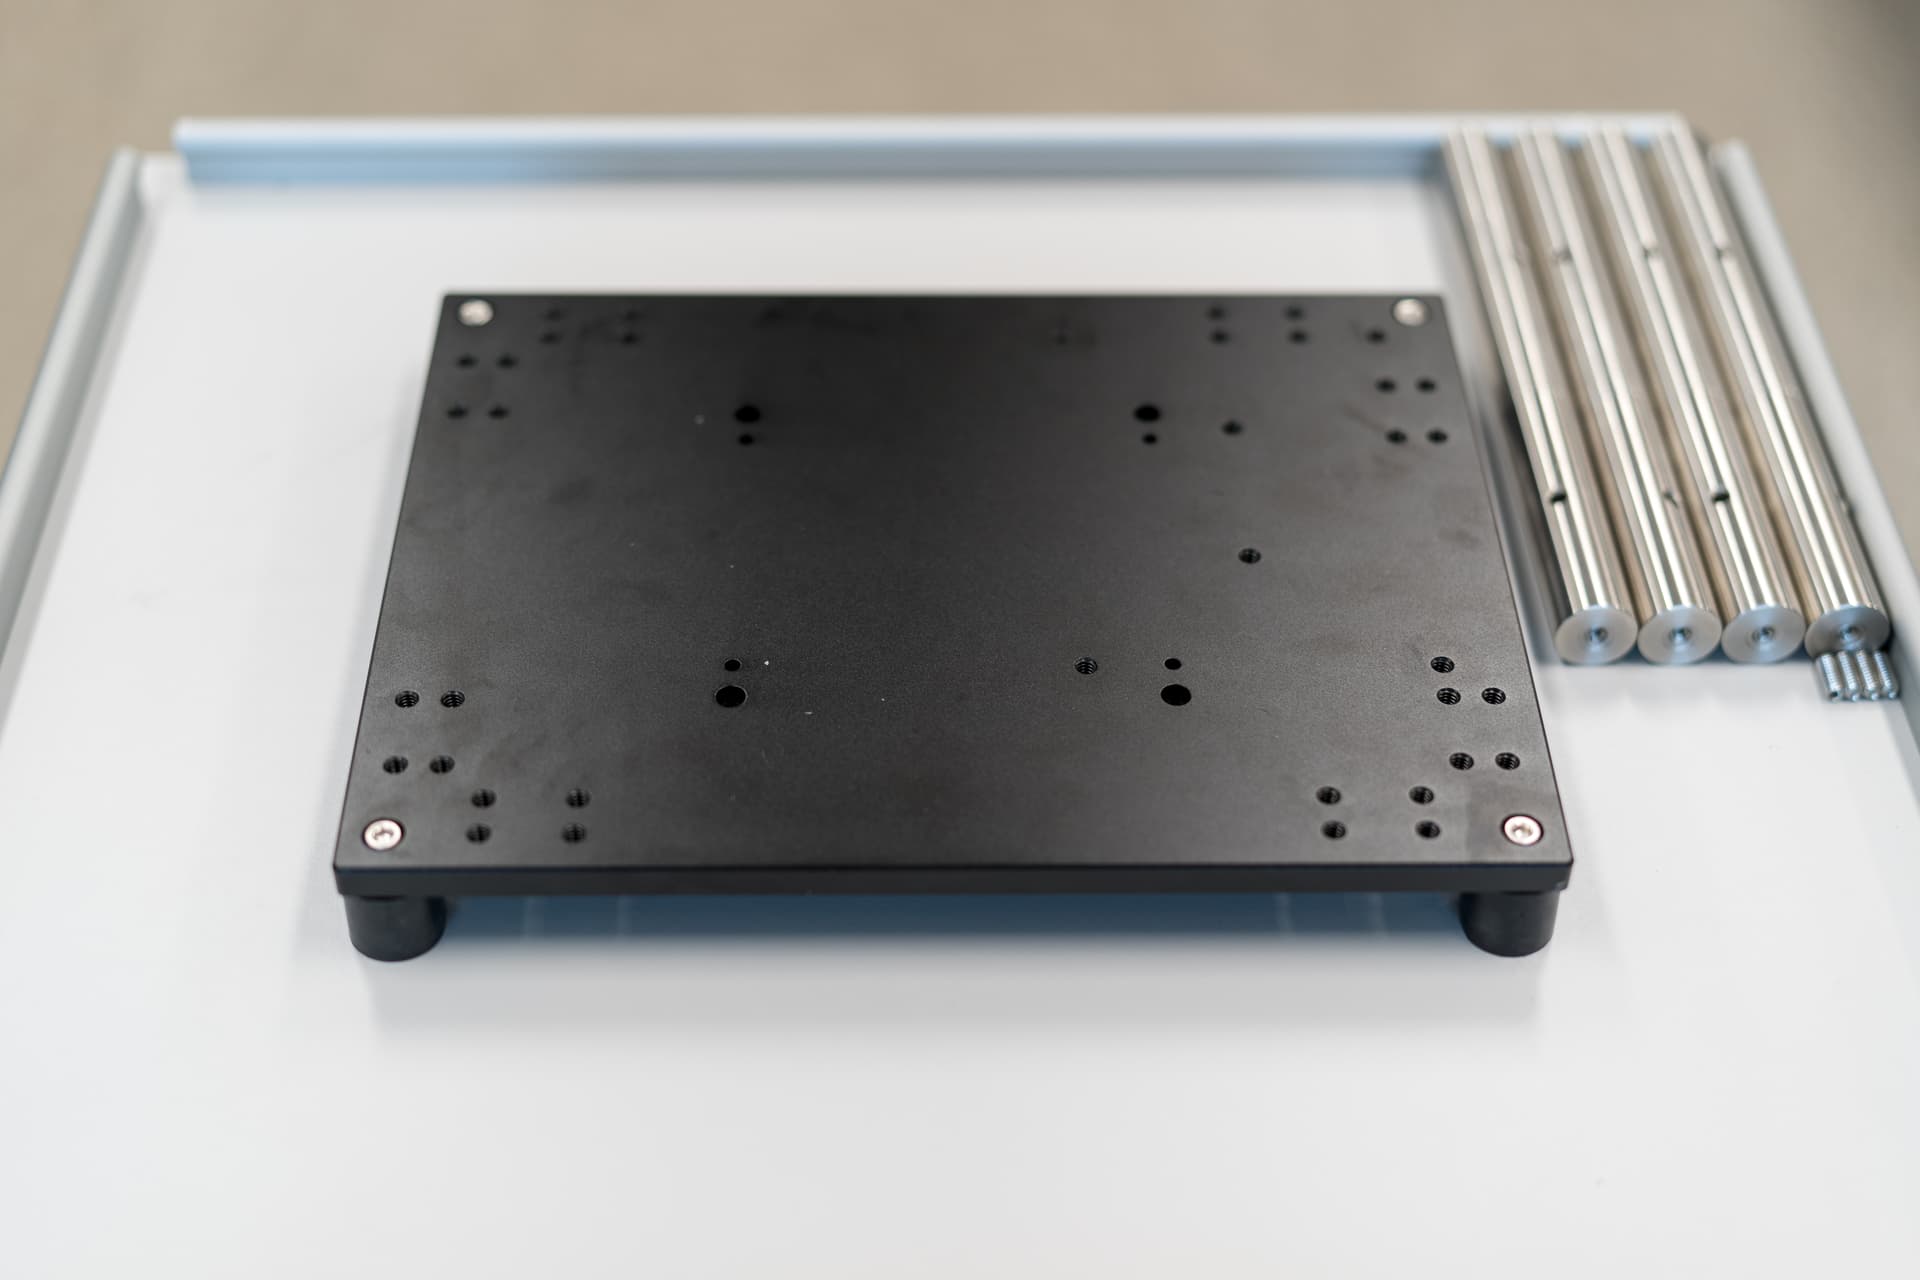
Step 1: Attach the AC4 Sorbothane Feet to the base
-
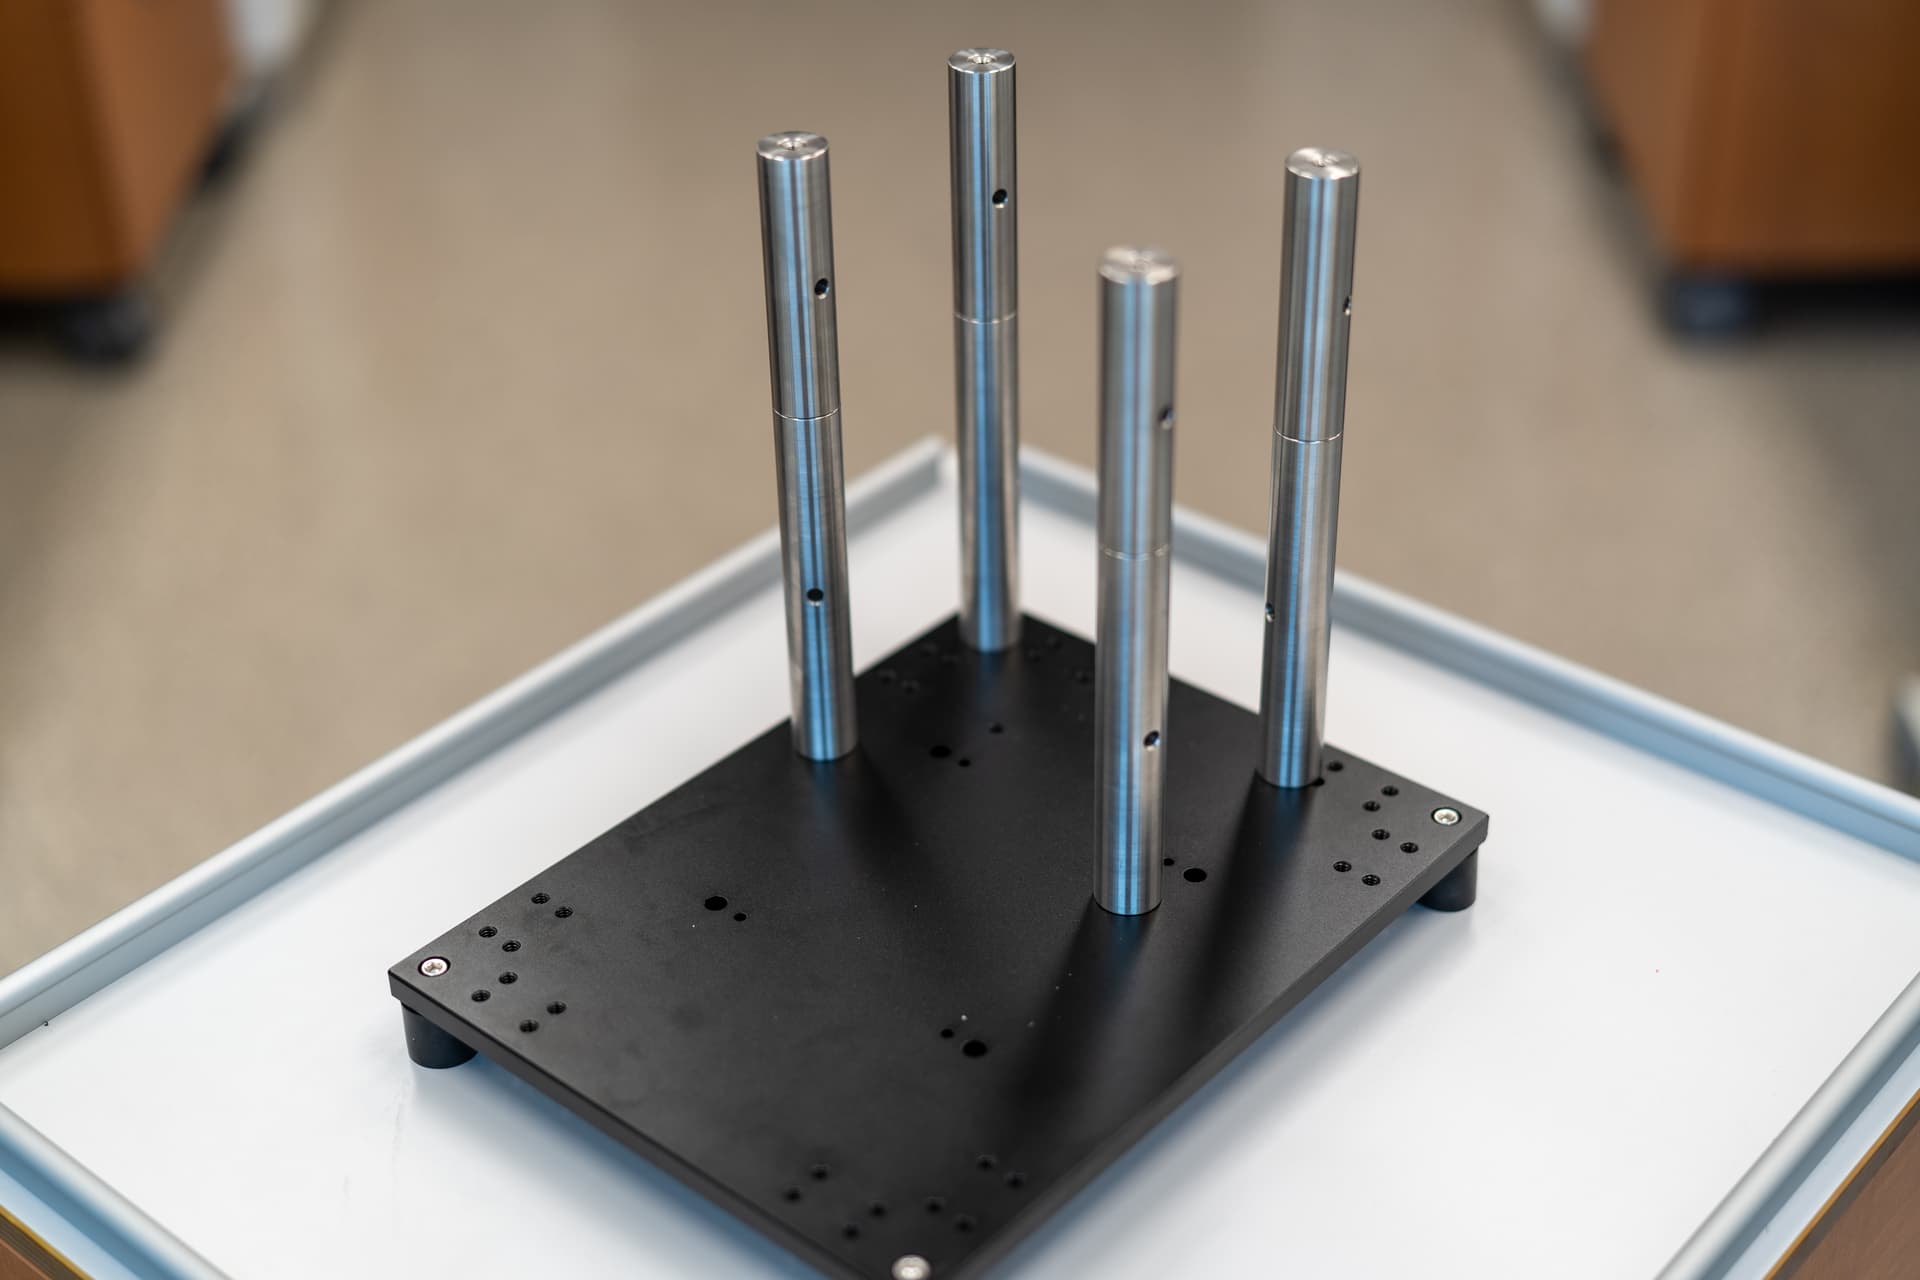
Step 2: Mount the 1" posts
-
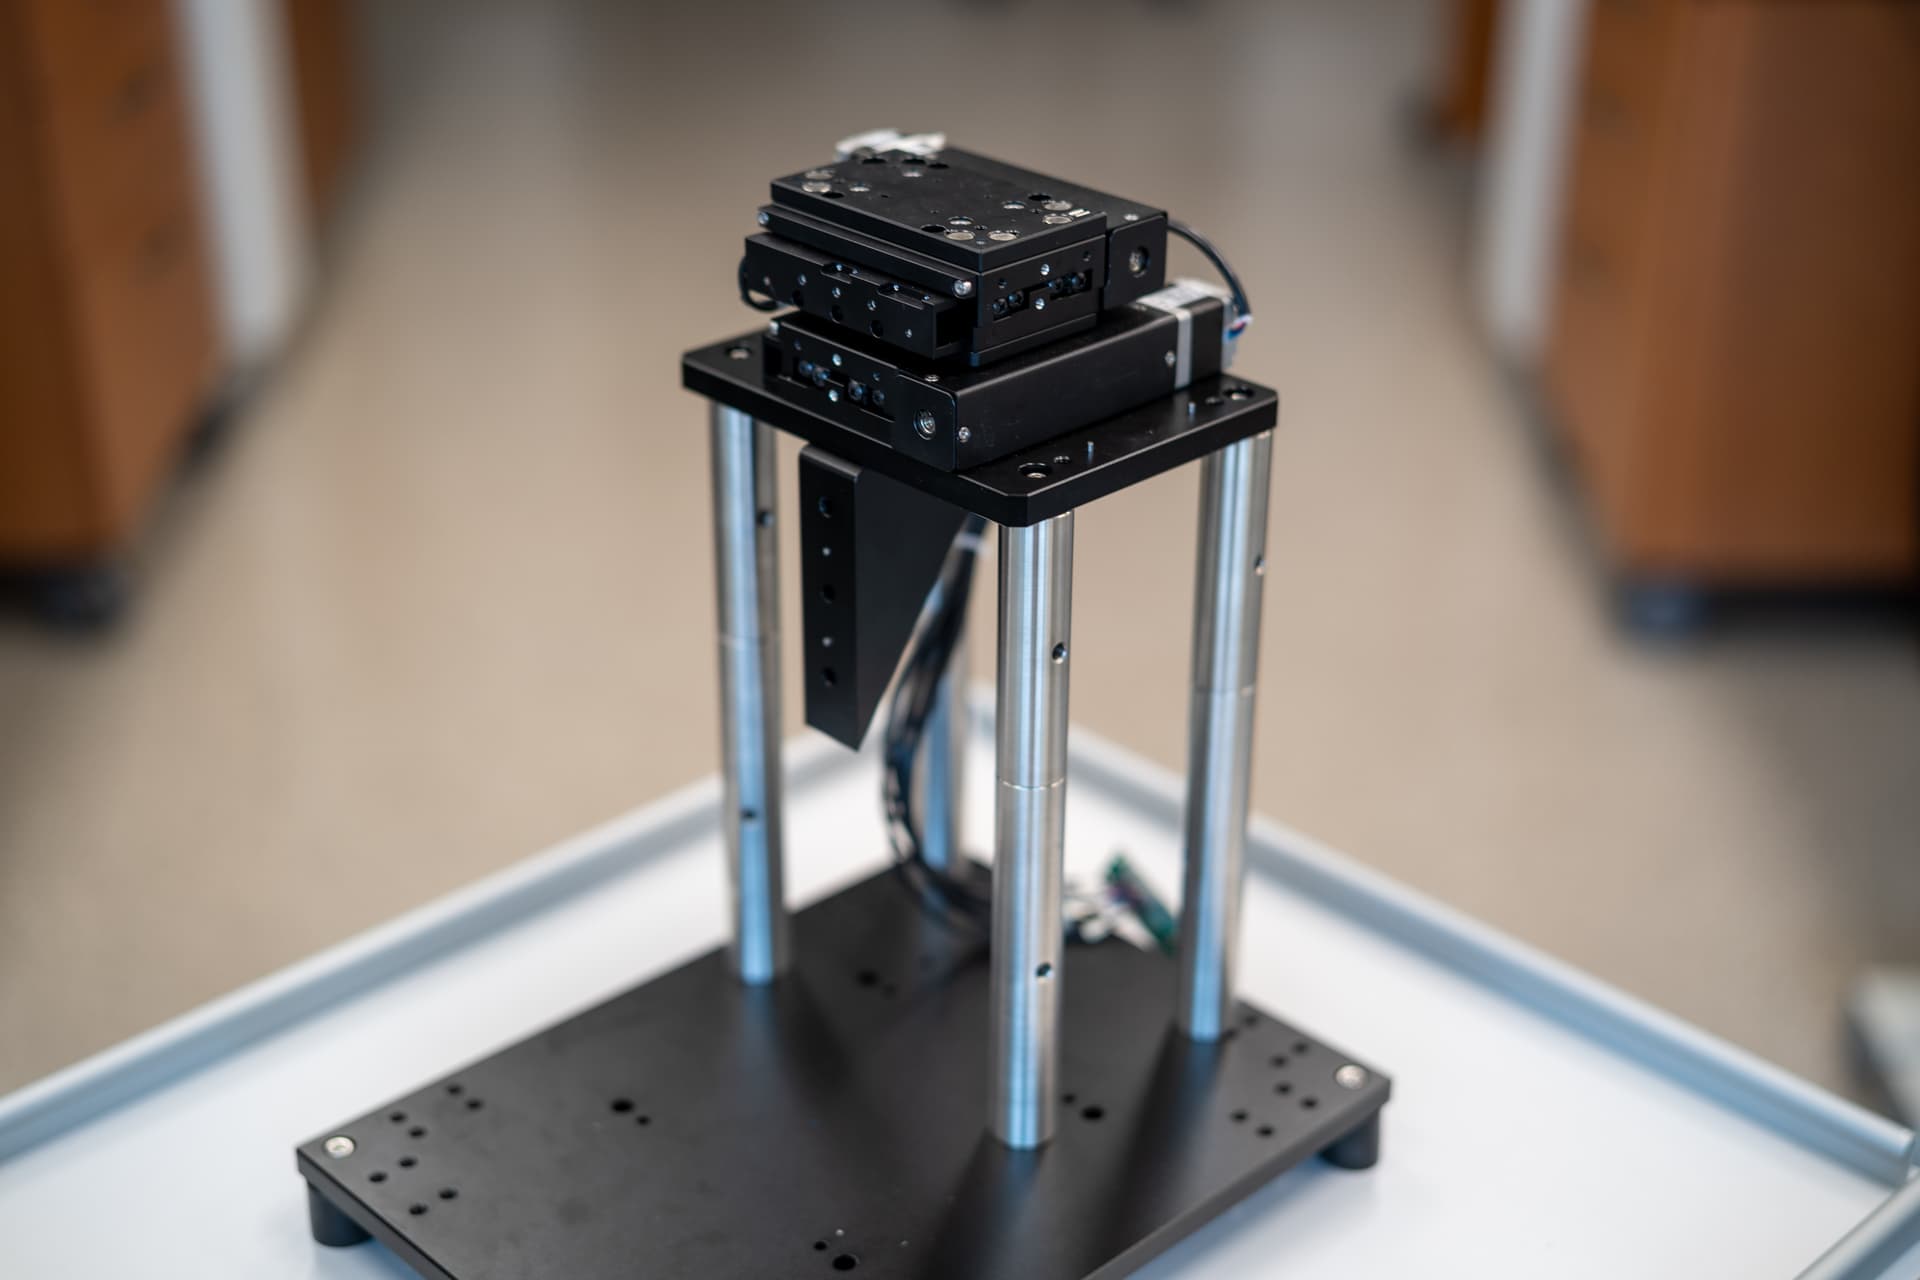
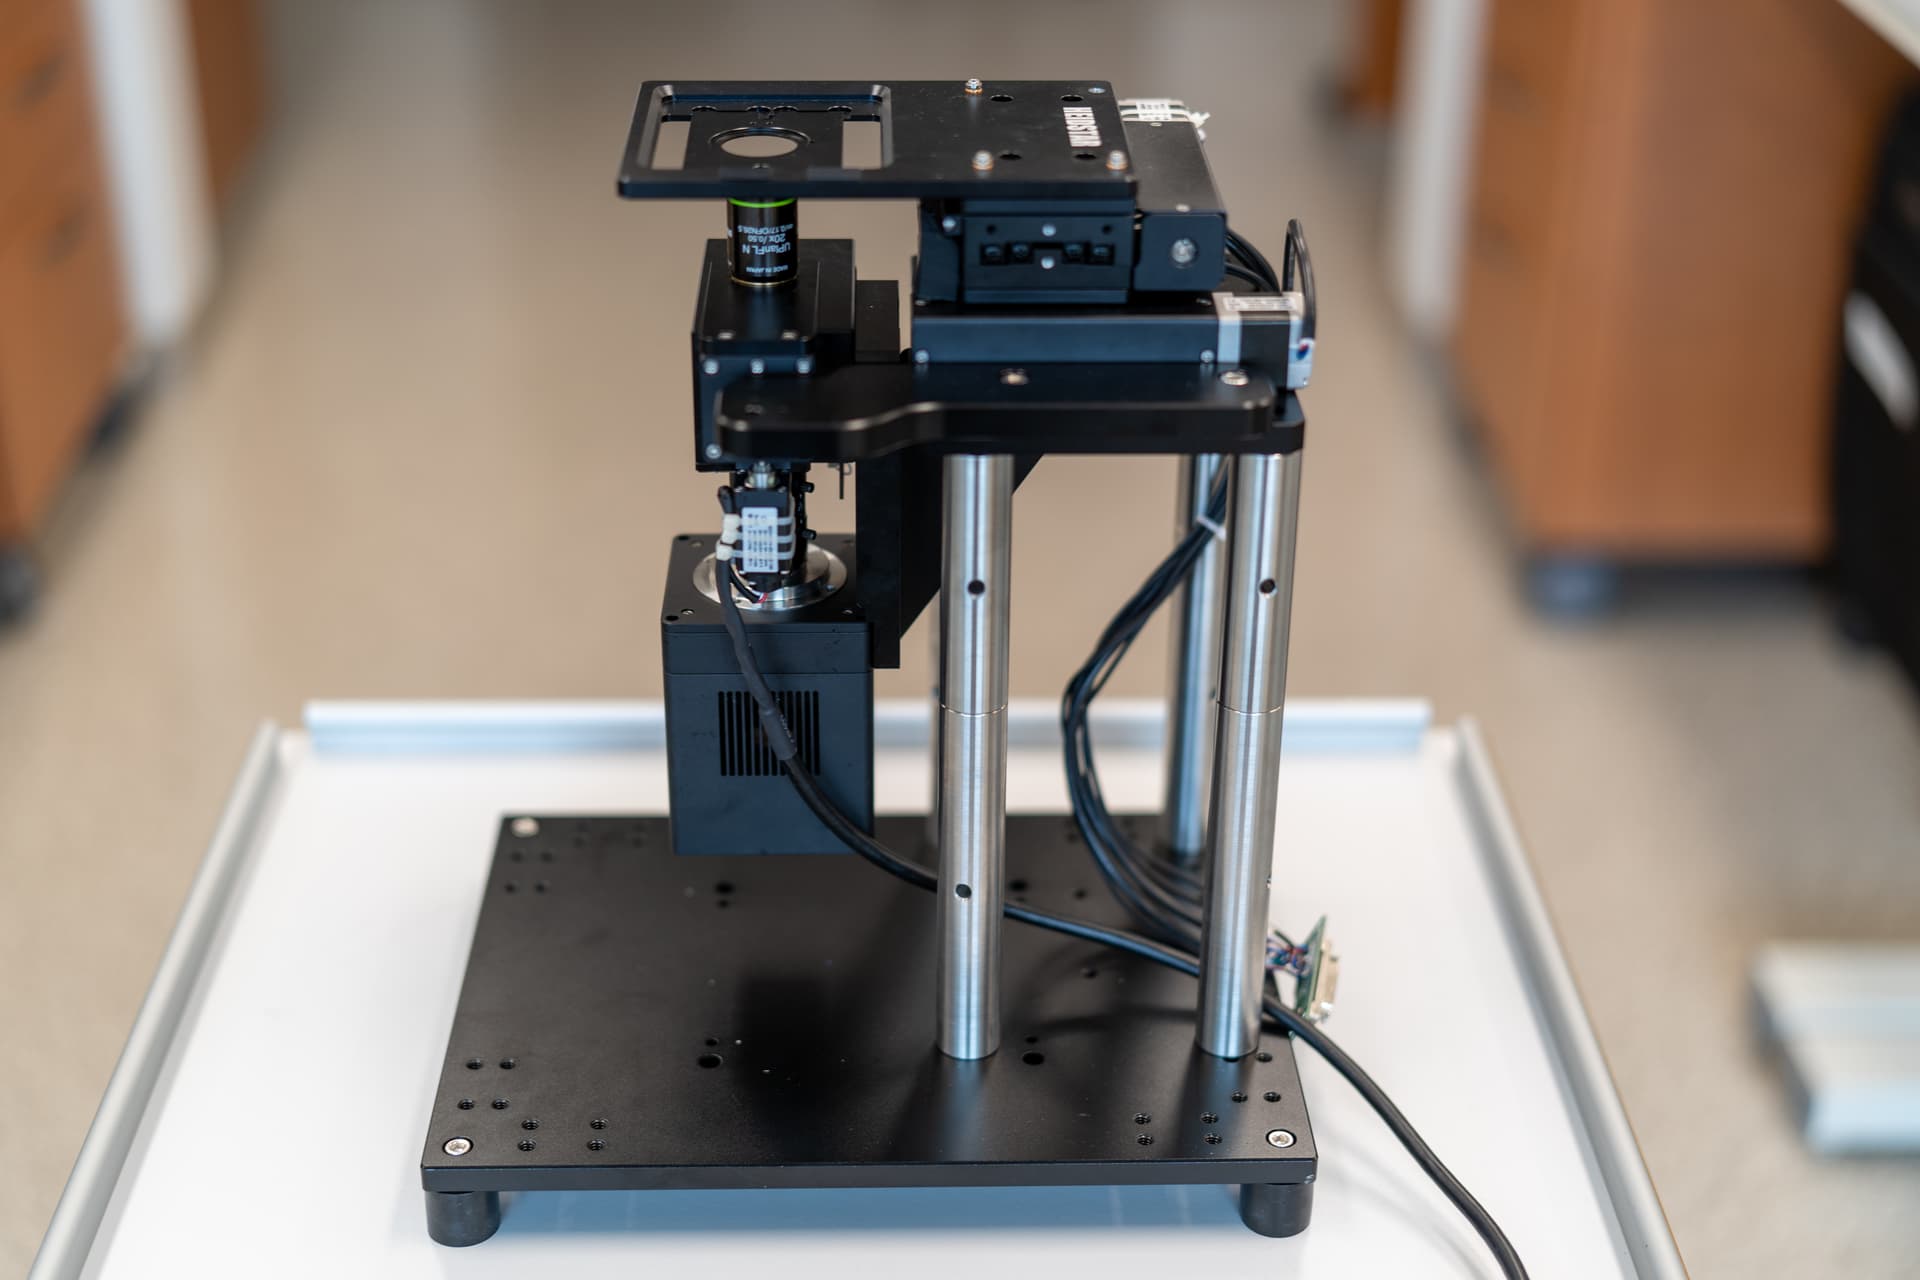
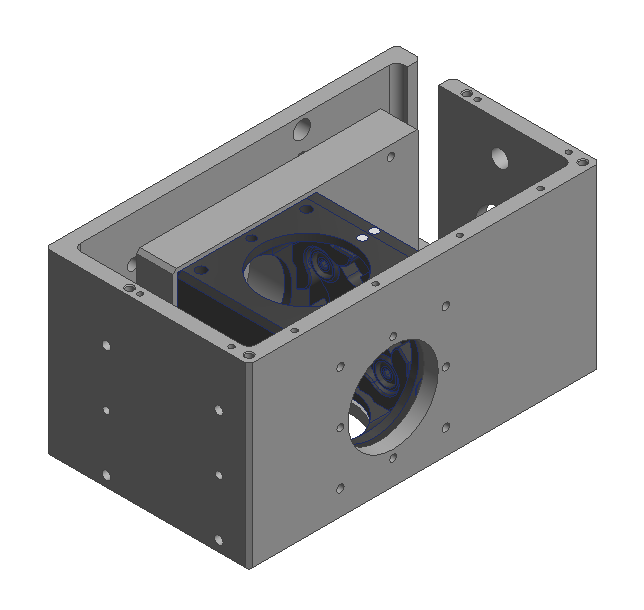
Step 3: Mount the XY stage + connecting piece for optical train assembly with 1/4-20 cap screws
-
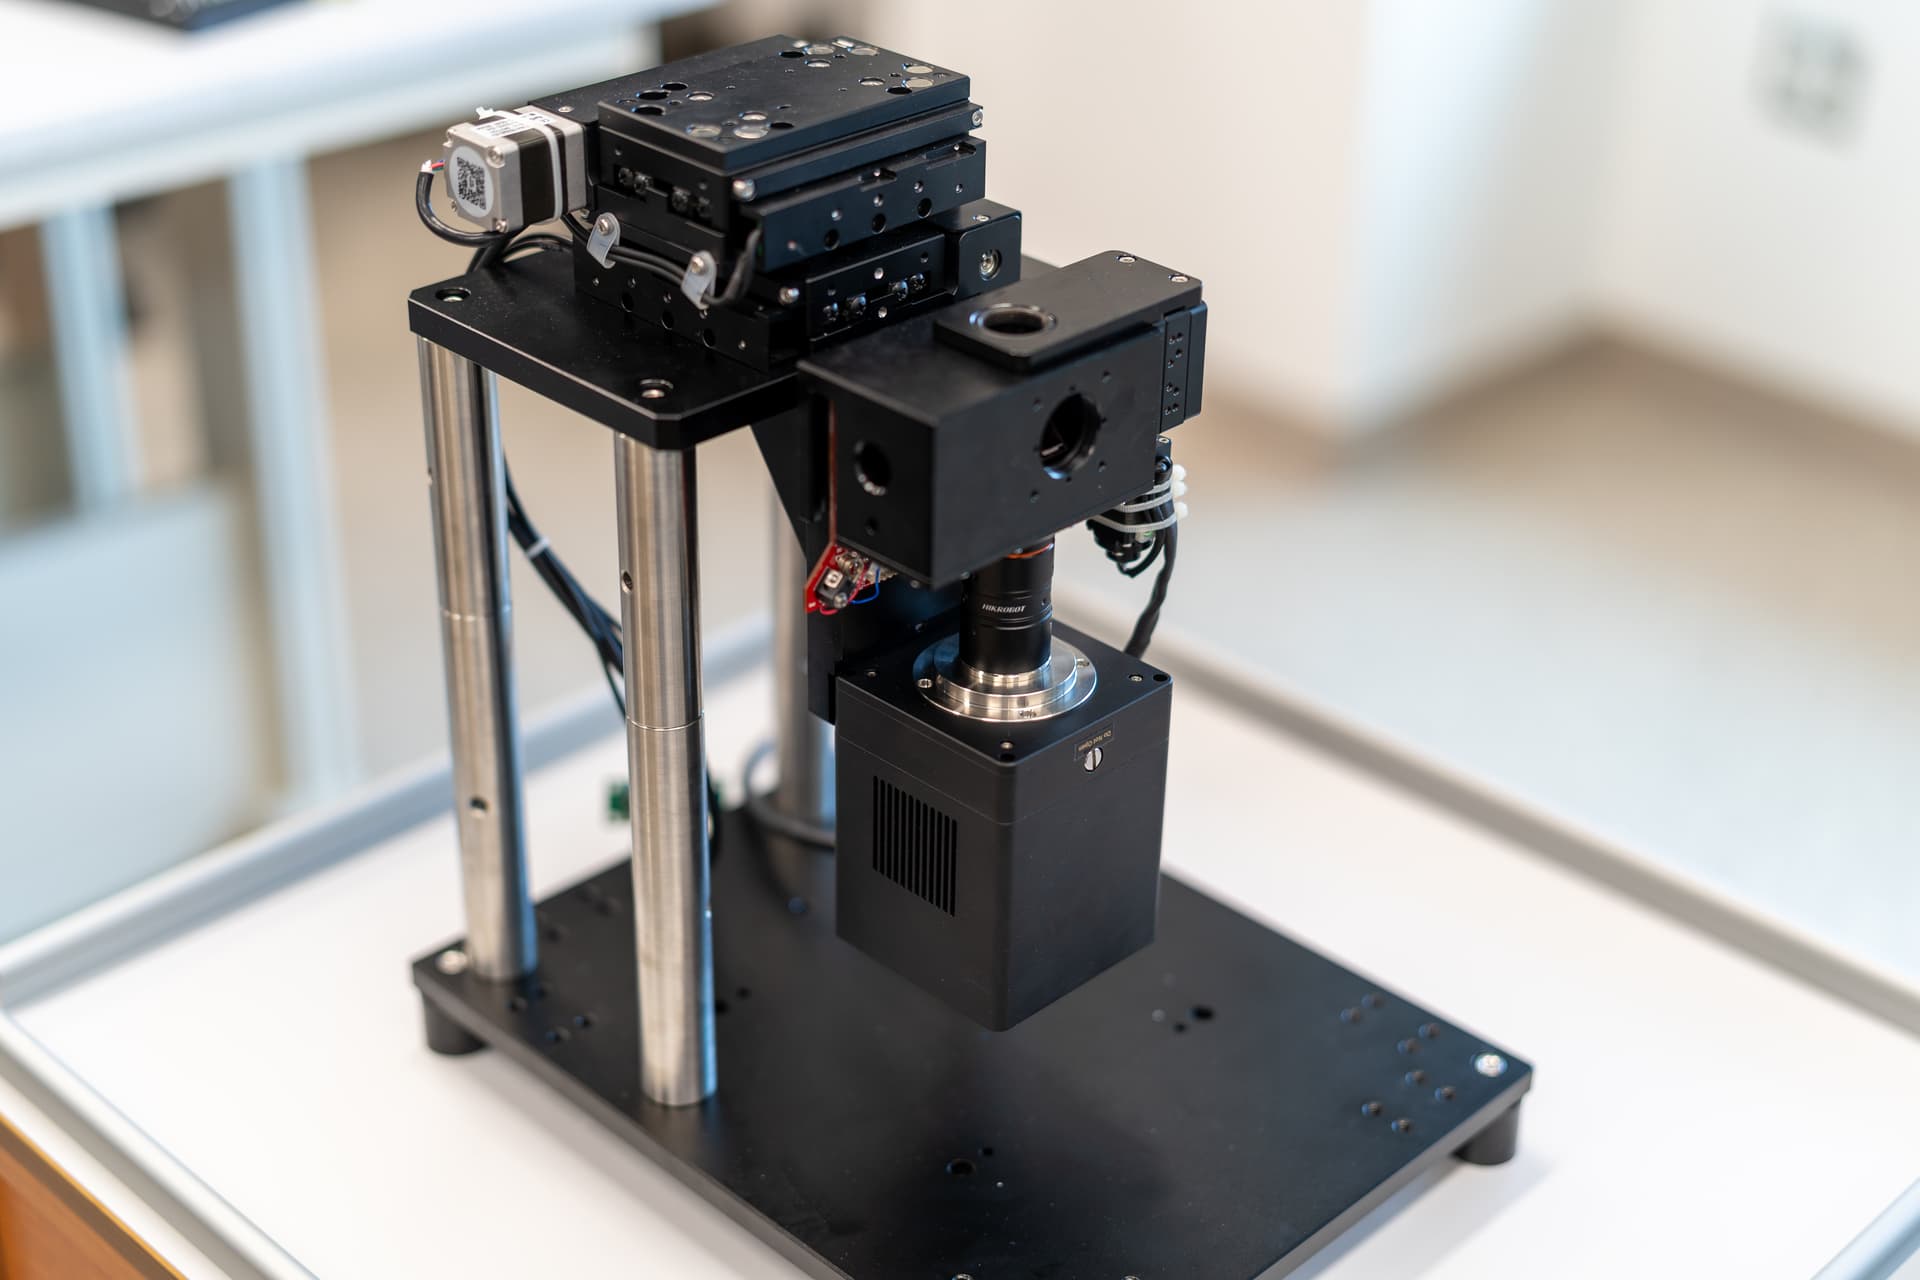
Step 4: Mount the optical train. Make sure the dowel pins are installed for alignment. Note that the picture shows a system with TEC cooled IMX571 camera. Smaller cameras without TEC cooling are connected through the imaging lens directly.
-
Step 5: Install the objective, the piece for mounting transillumination assembly and the sample holder. The sample holder is factory preadjusted and kinematically couples to the XY stage with magnets. Make sure to match the sample holder and the stage (label them if you have more than 1 sets) and make sure to not bolt it down.
-
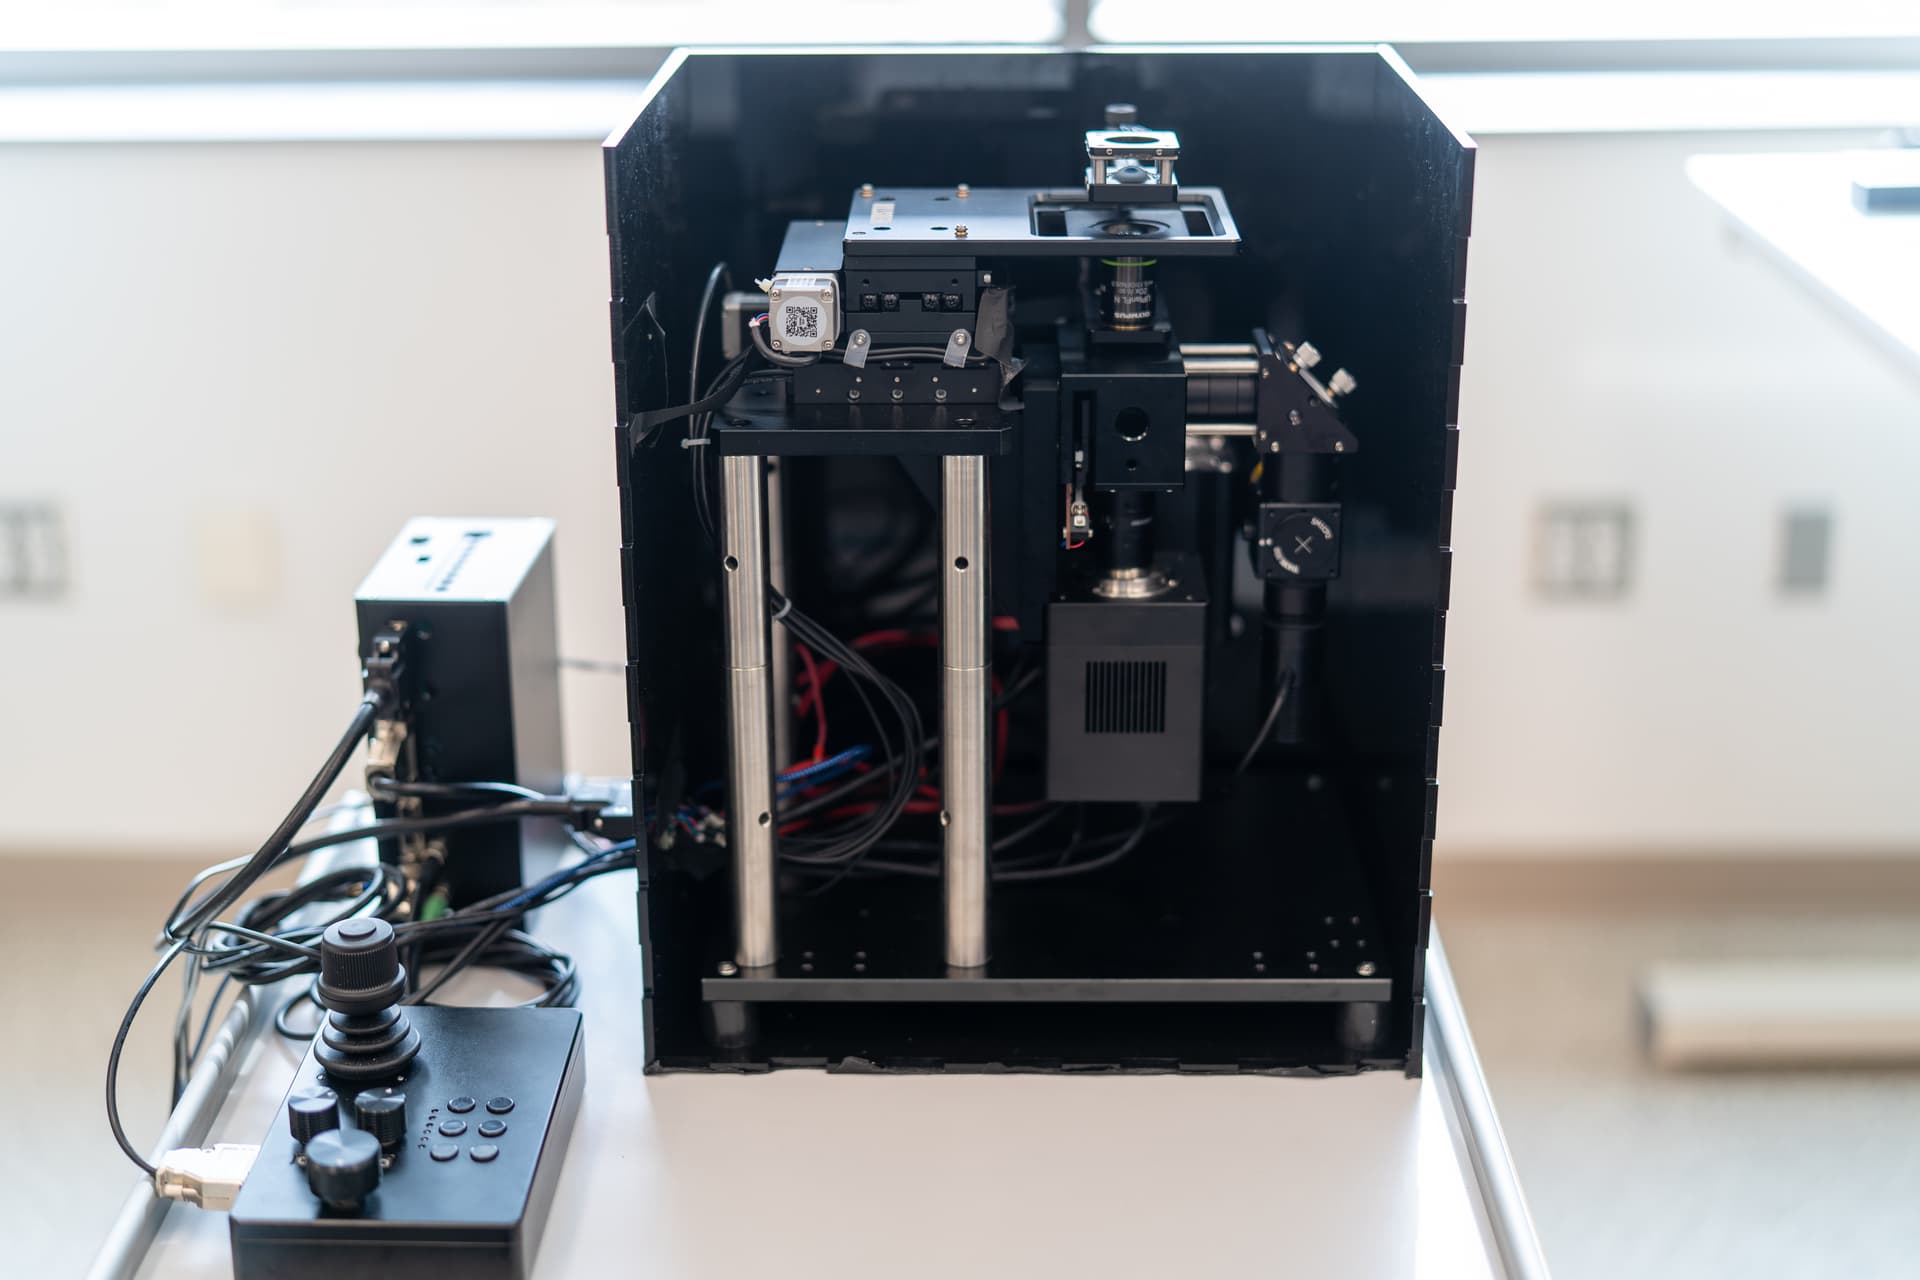
Step 6: Mount the transillumination assembly and any remaining parts.
-
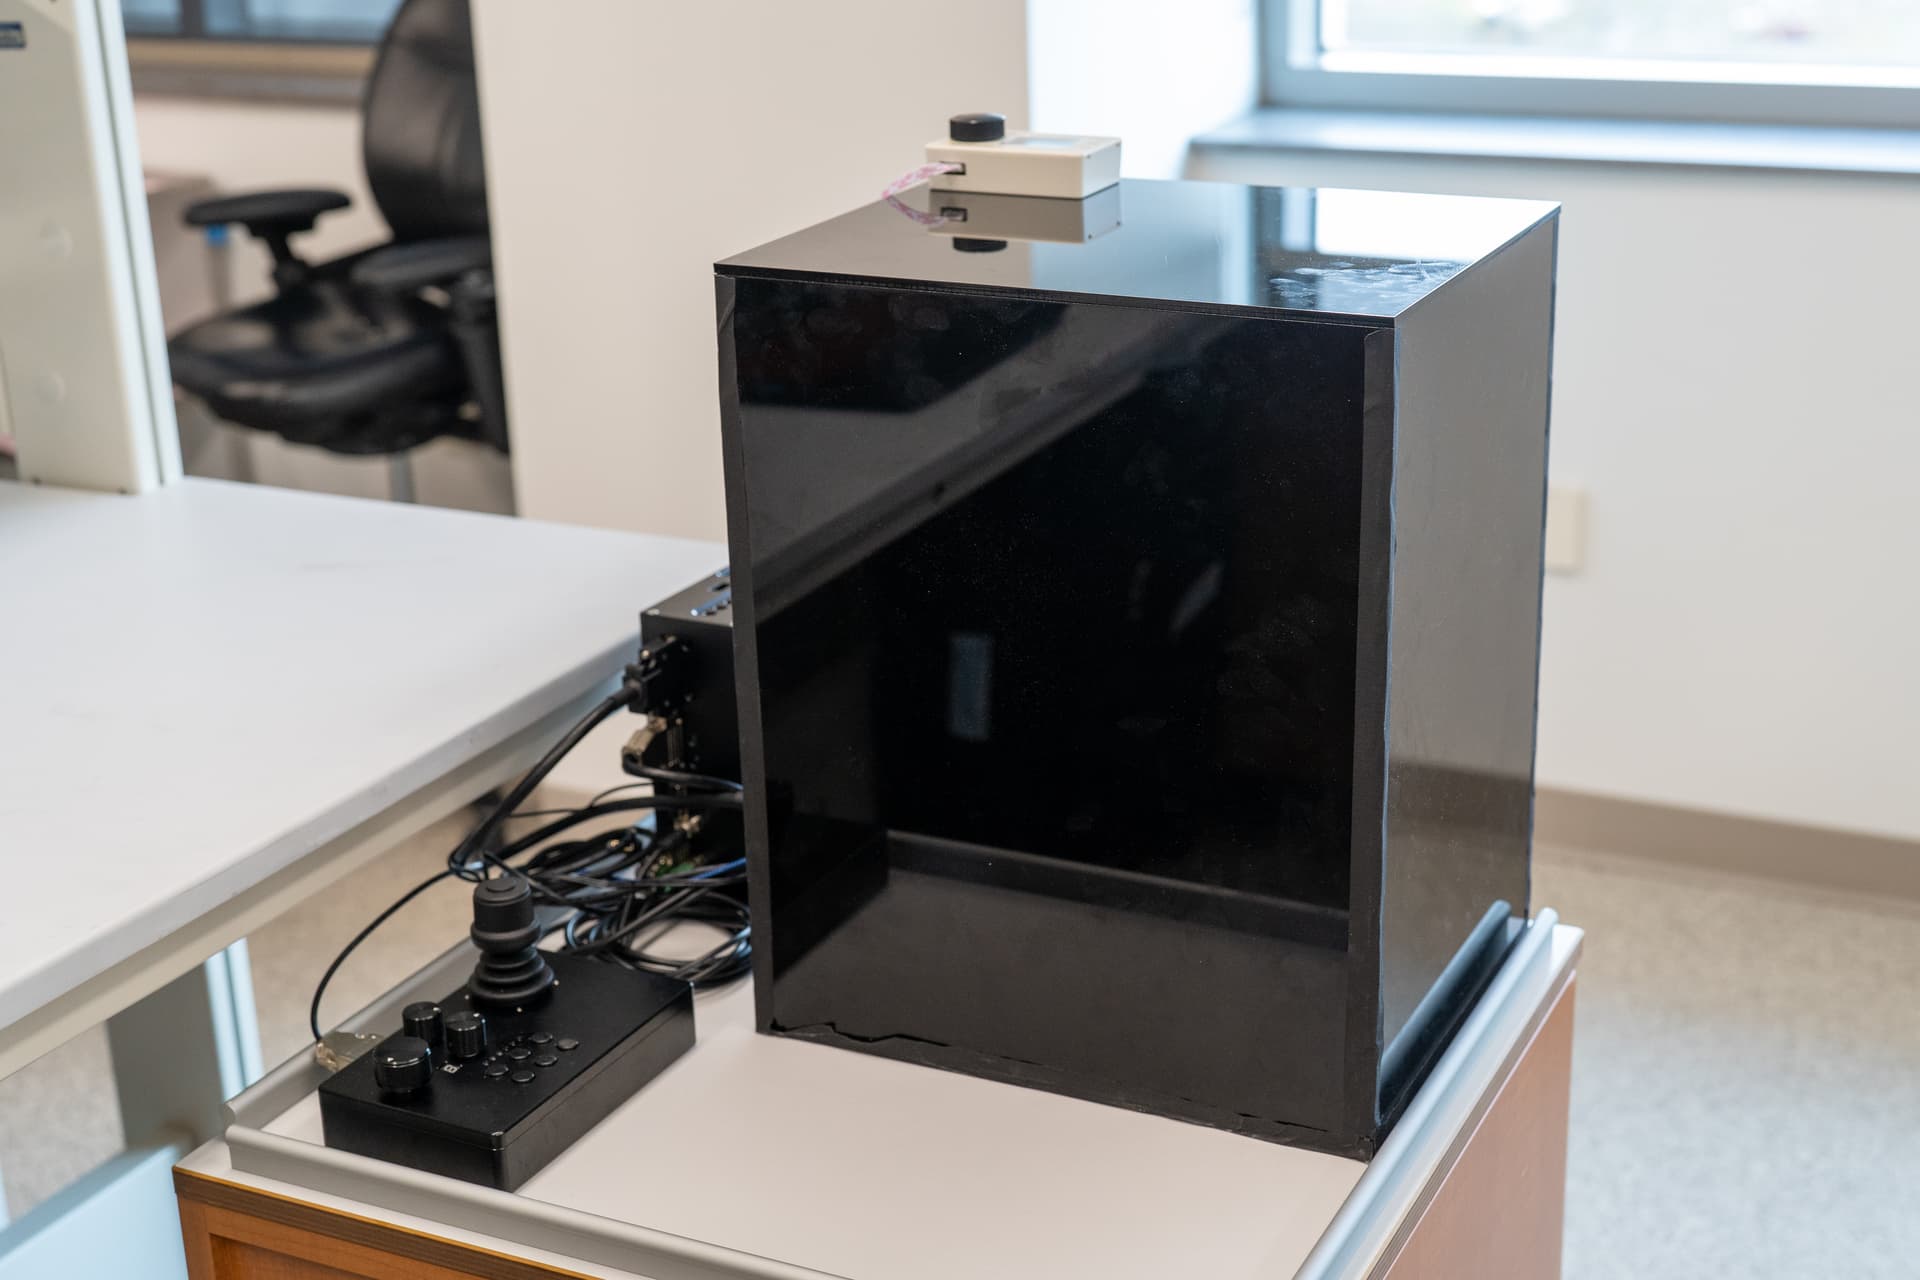
Step 7: If needed, the microscope can be placed in an enclosure that can be temperature controlled using a Peltier assembly.

Assembly notes for CM1-DCH cube
-
Before you start, refer to Epifluorescence optical train assembly diagram on how individual filter/beamsplitter should be oriented.
-
Assembly sequence:
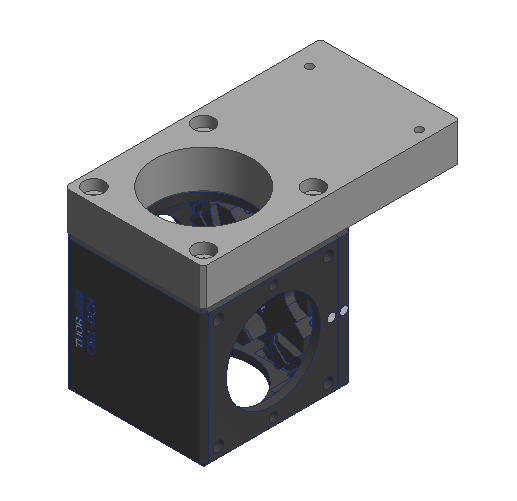
- step 1: mount the dichroic beam splitter in CM1-DCH
- step 2: mount CM1-DCH to the adapter piece (use 2.4 mm dowel pins or a flat surface for alignment)
- step 3: connect the emission filter mounted in SM1L03 to CM1-DCH
- step 4: mount the above assembly to the box in the optical train
-
Make sure the cube is mounted with correct orientation:

Note this is from reusing parts originally designed for the another system. In the future a new part will be designed to simplify assembly and make it possible to easily switch cubes.
Assembly notes for filter cube switcher
coming soon…